Create Your First Flag
Feature flags (also called feature toggles) let you enable or disable features remotely, without deploying new code. In this tutorial, you'll learn how to create a feature flag in Flagsmith and use it to control a feature in your application, step by step, using the Flagsmith dashboard and a simple web page.
- Sign up for a Flagsmith account.
- Have a simple HTML/JS project or web page ready to test the flag.
Steps
-
Create an Organisation
After signing up, create your first Organisation in the Flagsmith dashboard.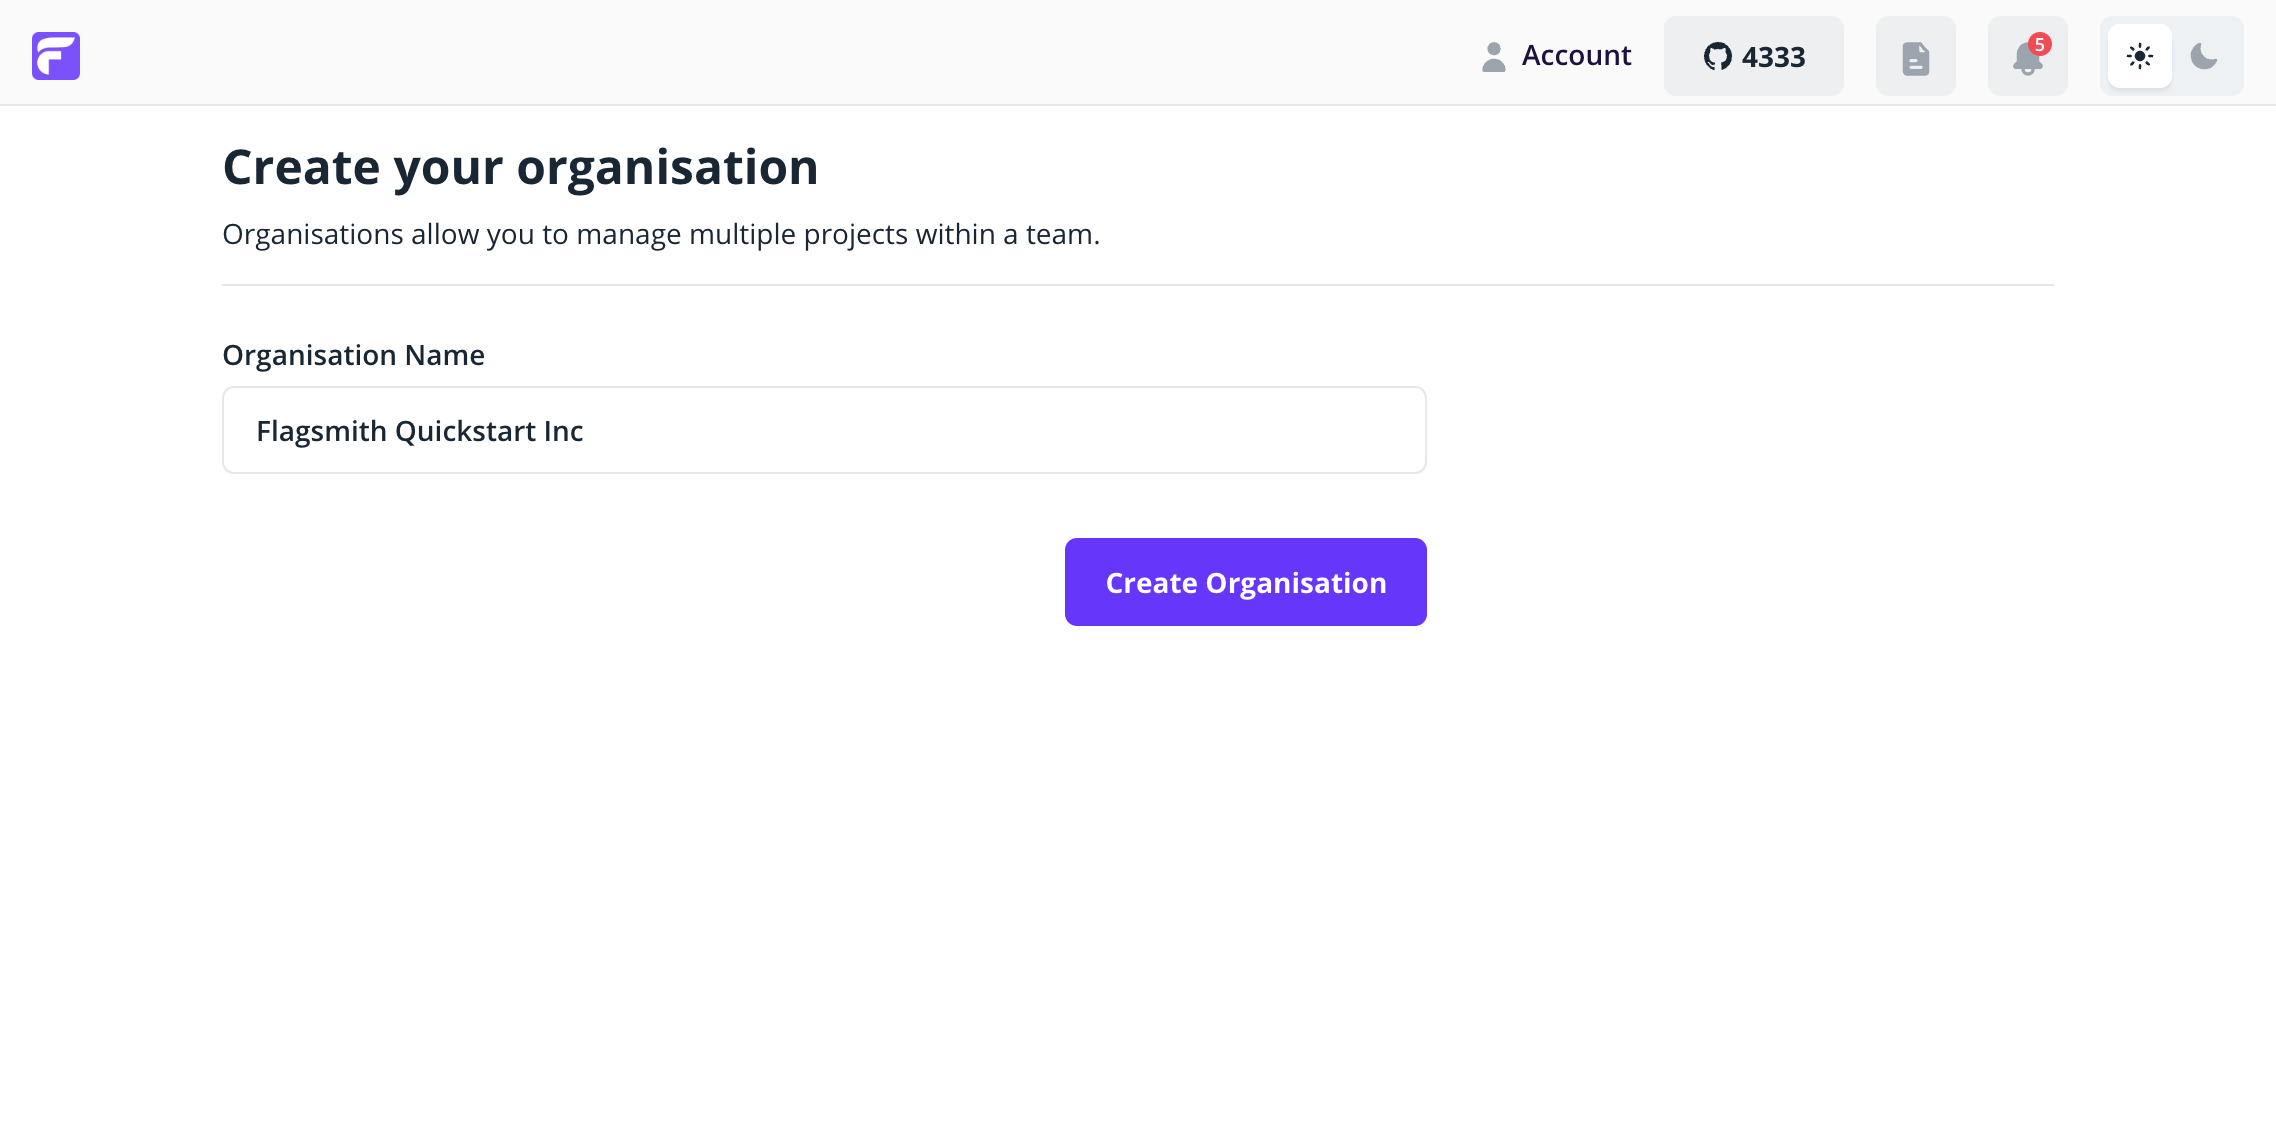
-
Create a Project
Next, create a Project within your Organisation. Projects help you group related features and environments (like Development and Production).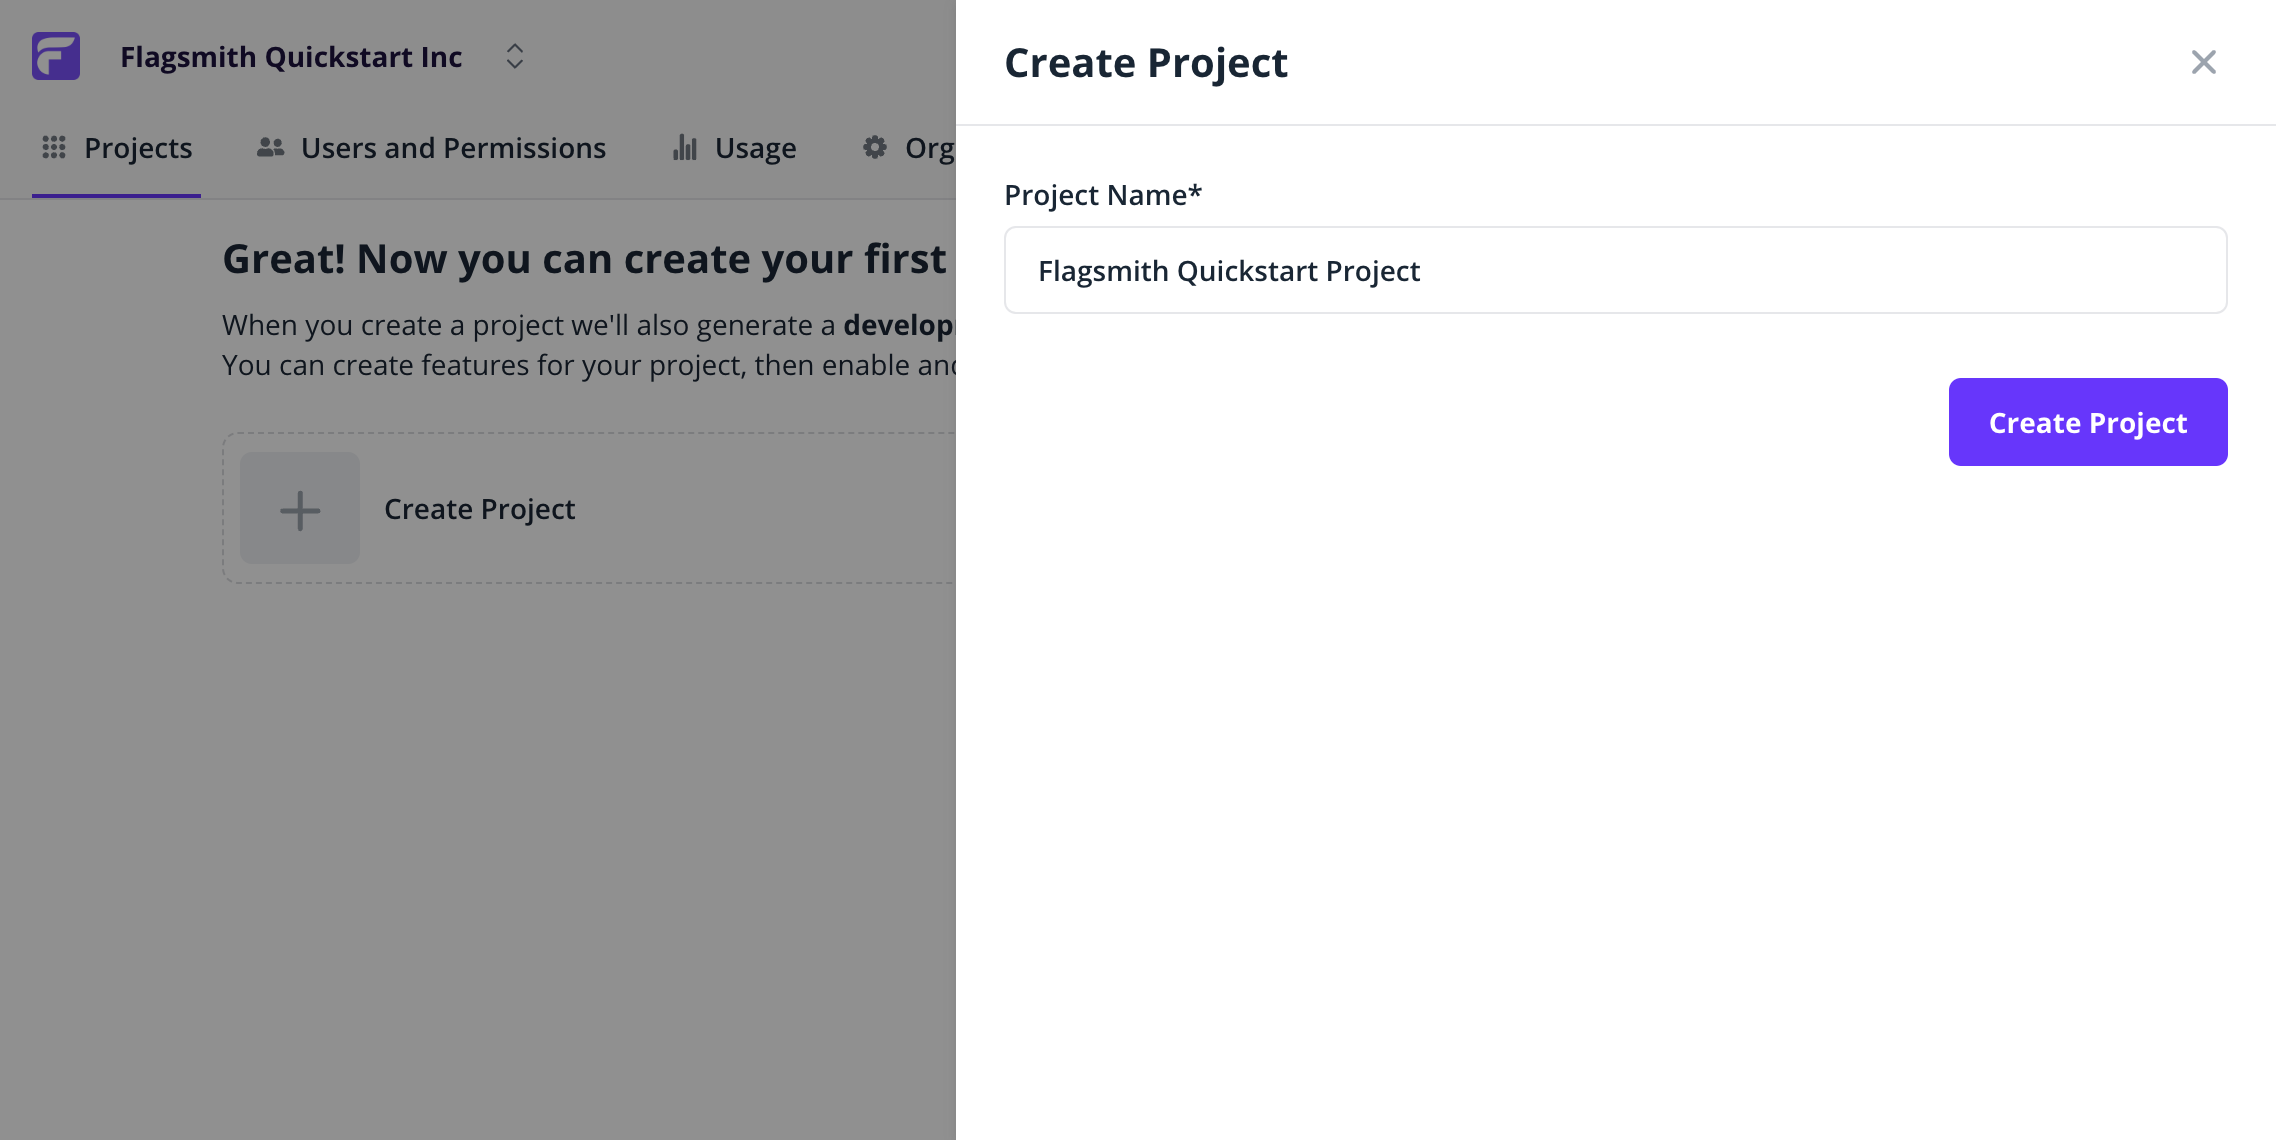
-
Create a Flag
In your Project, create a flag calledshow_demo_buttonand leave it Disabled by default.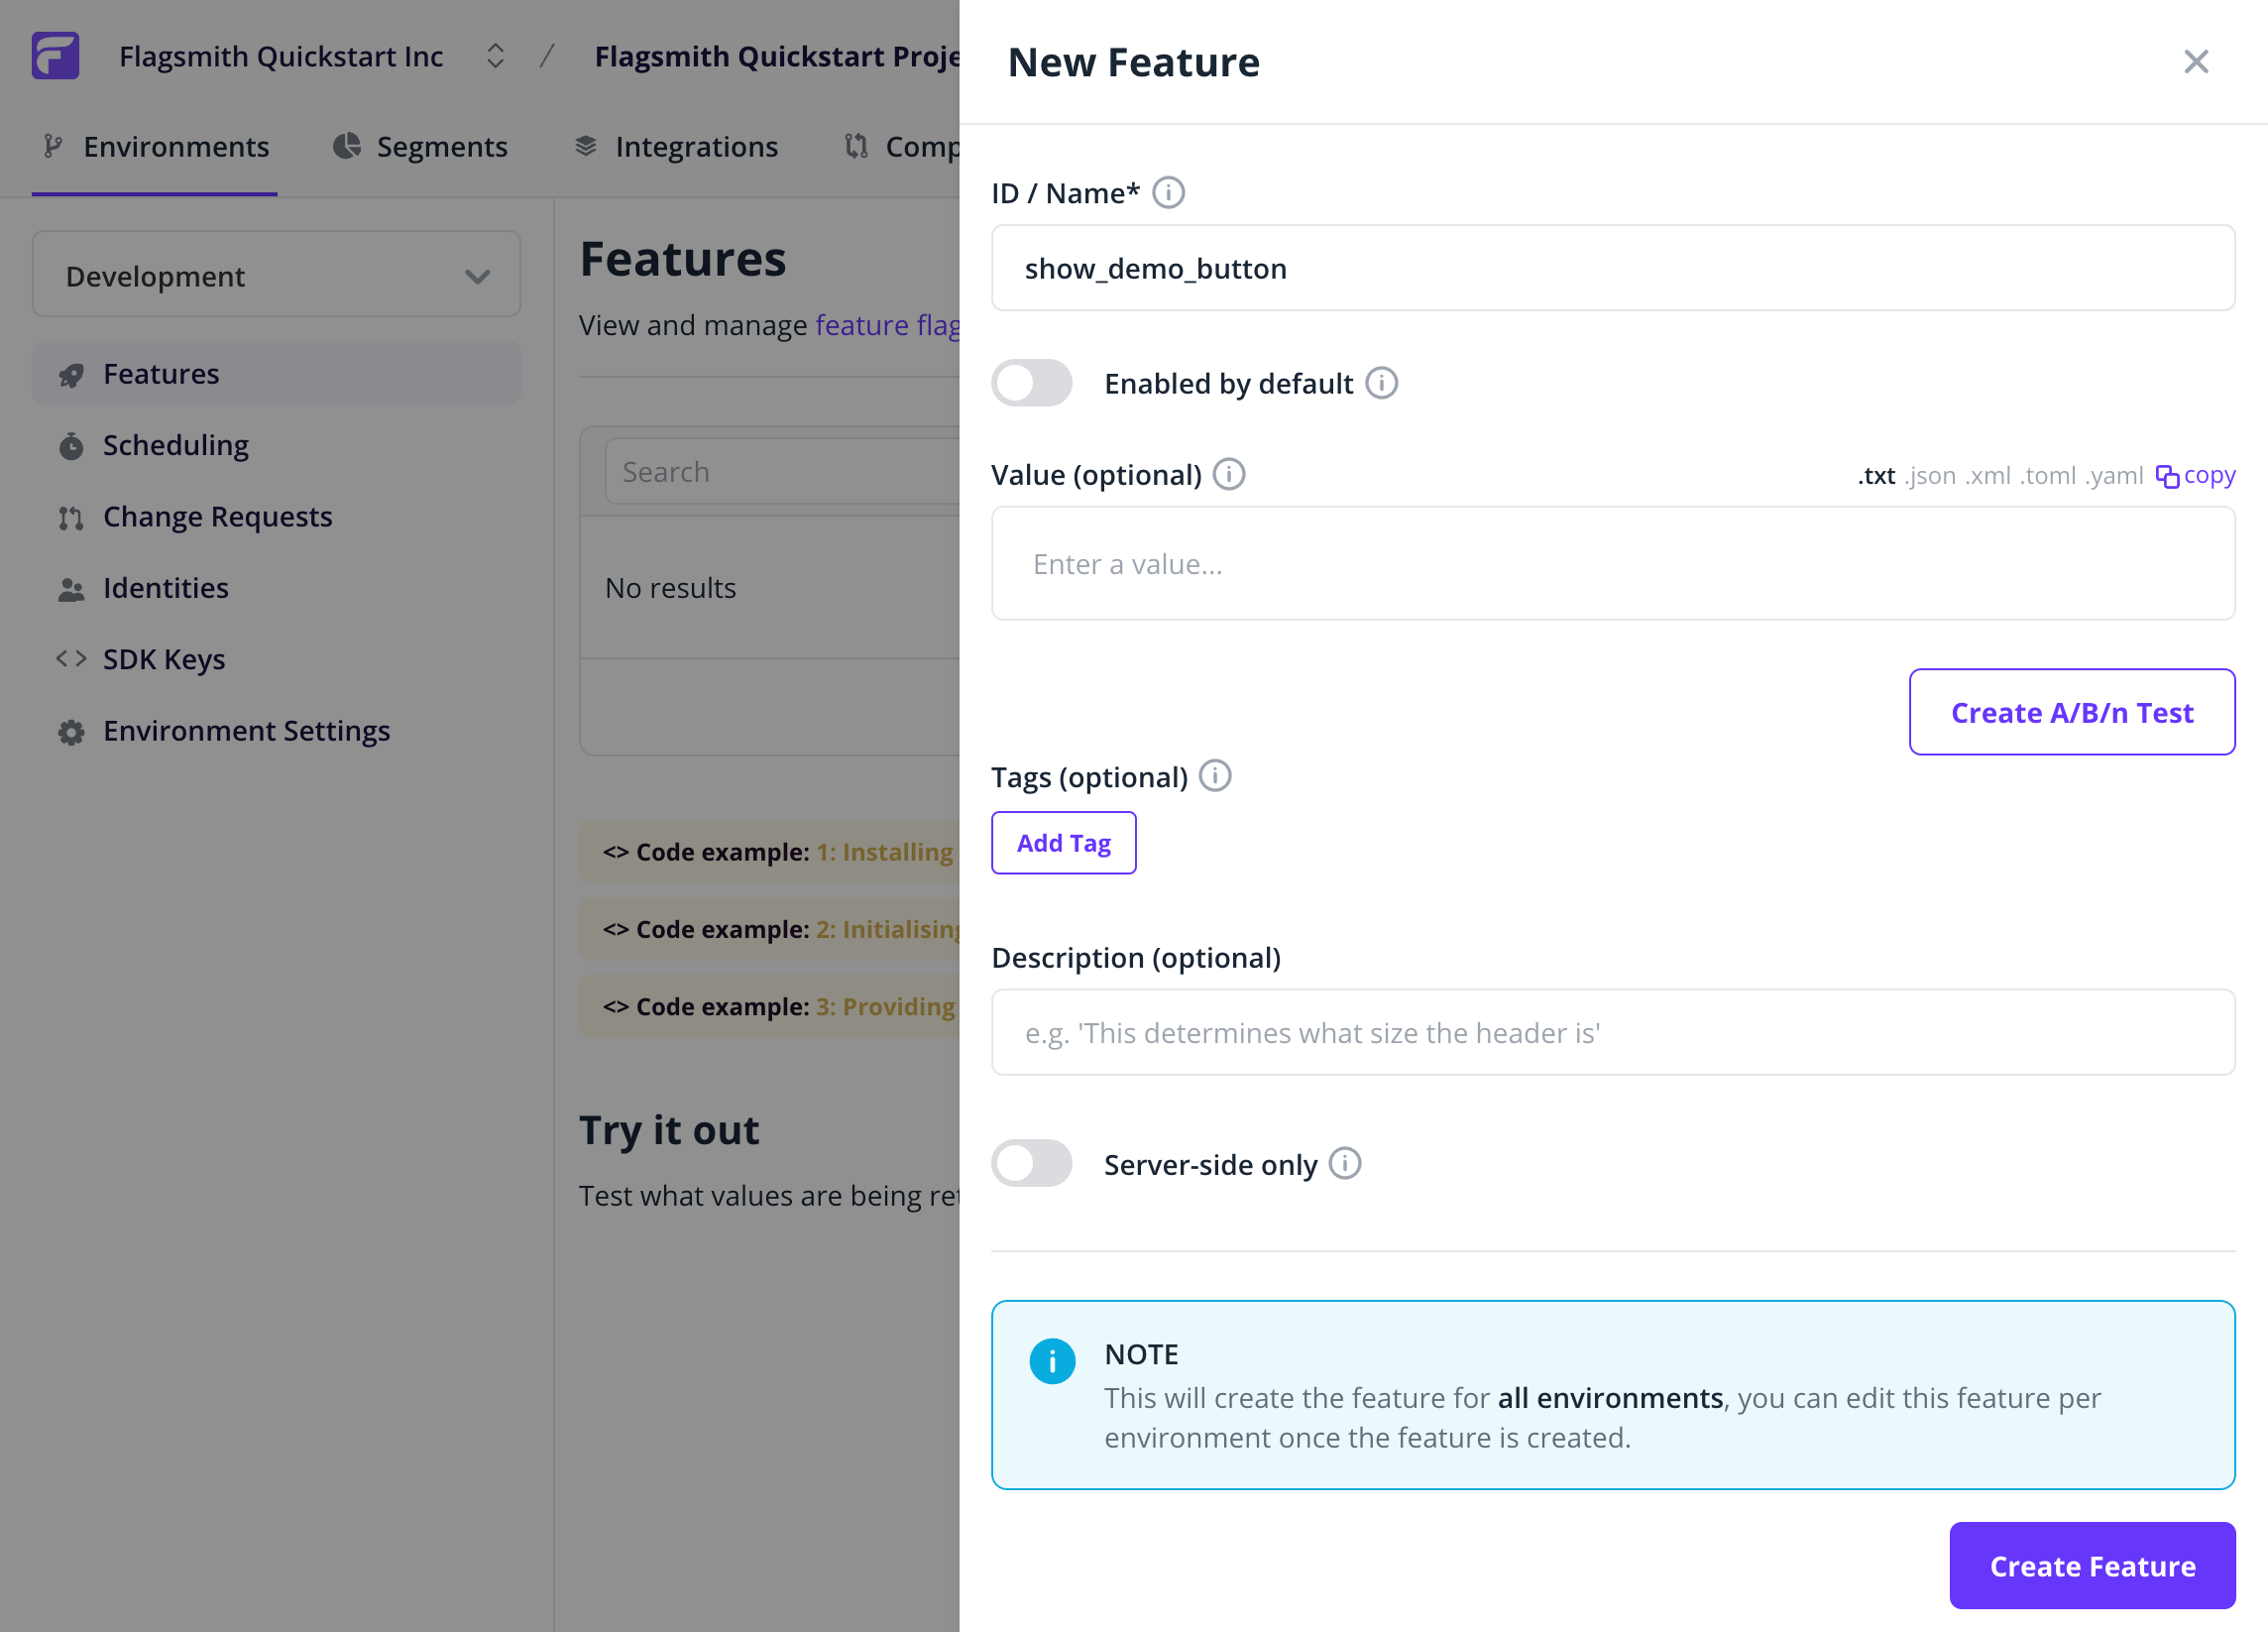
-
Integrate the Flag in Your App
Import the Javascript SDK into your web page:<script src="https://cdn.jsdelivr.net/npm/flagsmith@latest/index.js"></script>Connect to the Flagsmith API using your Environment API key:
<script>
flagsmith.init({
 environmentID: '<add your API key here!>',
 onChange: (oldFlags, params) => {
  if (flagsmith.hasFeature('show_demo_button')) {
   var submit_button = document.getElementById('submit_button');
   submit_button.style.display = 'block';
  }
 },
});
</script>
Now, toggling the flag in the Flagsmith dashboard will control the visibility of the button in your app.
Summary
- You created a feature flag in Flagsmith.
- You connected your app to Flagsmith and used the flag to control a UI element.
Next steps
- Learn more about Feature Flags and Data Model
- Explore Flag Management and Best Practices
- See the Glossary for key terms